

What is DICloak
DICloak Antidetect Browser is designed for secure multi-account management, using virtual fingerprints (like device info, IP, and time zone) to simulate real environments. Ideal for marketing, e-commerce, social media, and affiliate use, it enables safe, efficient multi-account operations while avoiding detection and bans.
IPFLY and DICloak Agent integration
How to use IPFLY Proxy settings DICloak
Step 1: Register/Login and Choose a Package
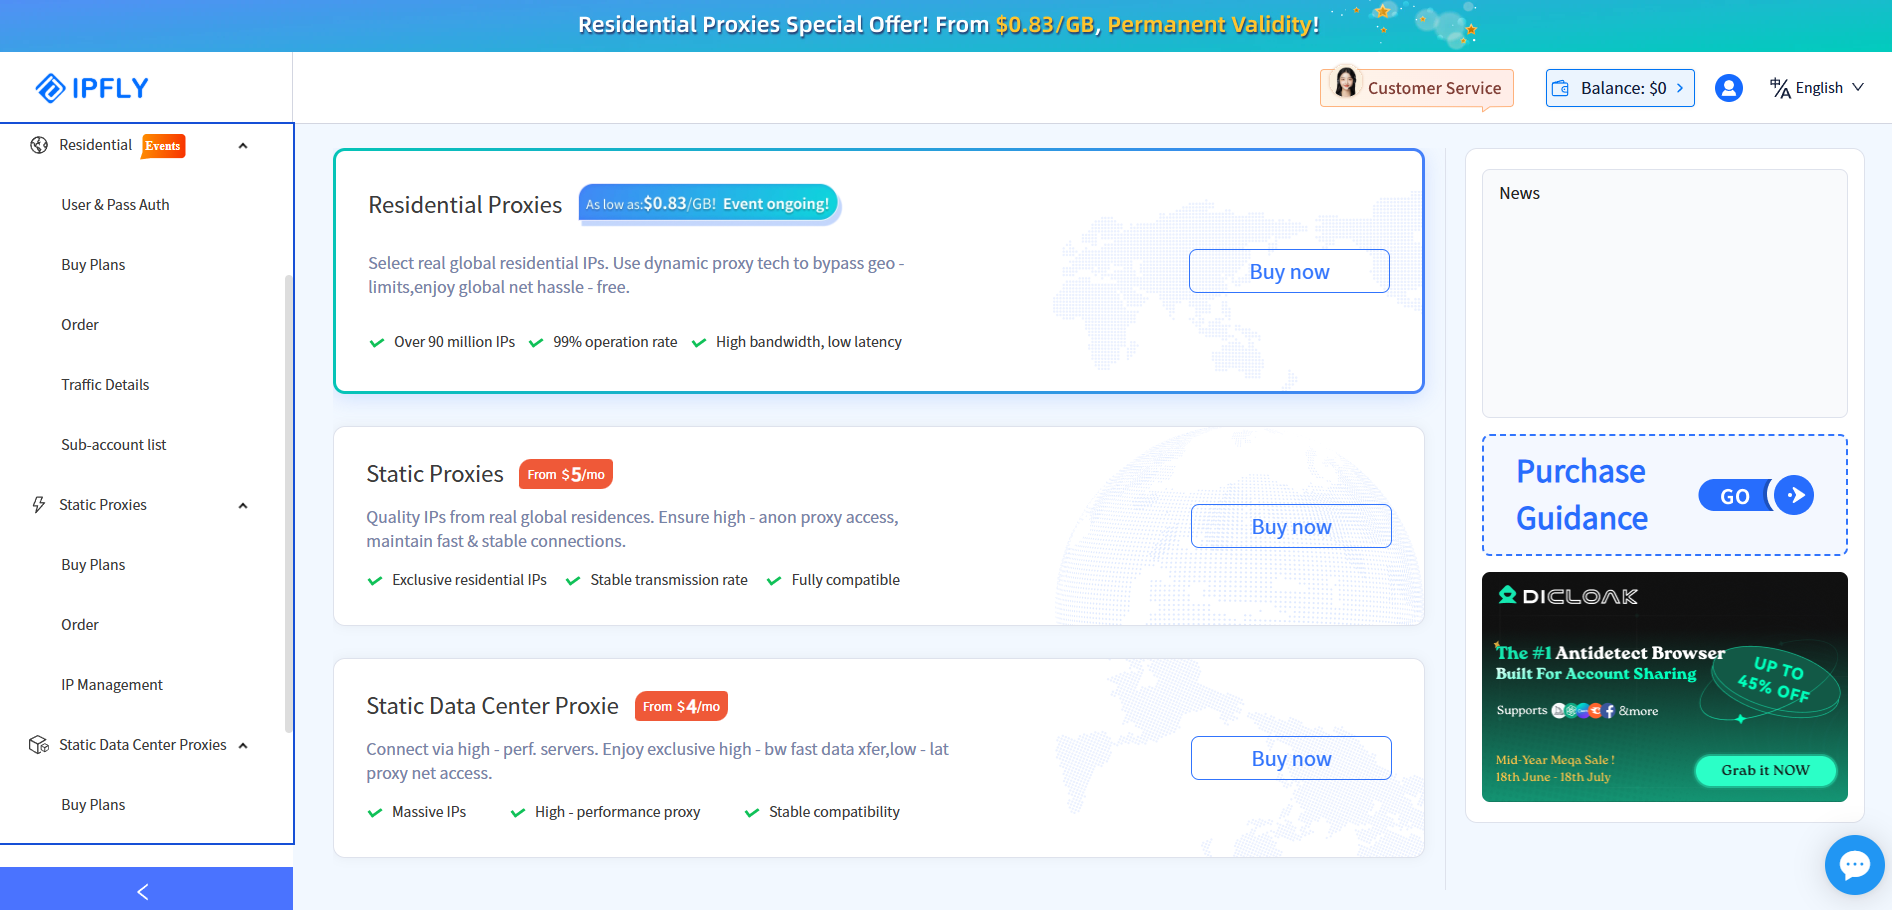
Visit the IPFLY official website, create an account, and log in to the dashboard. Based on your proxy needs, choose from Residential Proxies, Static Proxies, or Static Data Centre Proxies. Select the desired country or region for the IPs, then complete your purchase for the appropriate proxy package.
Step 2: Locate and Use Your Purchased IP Nodes
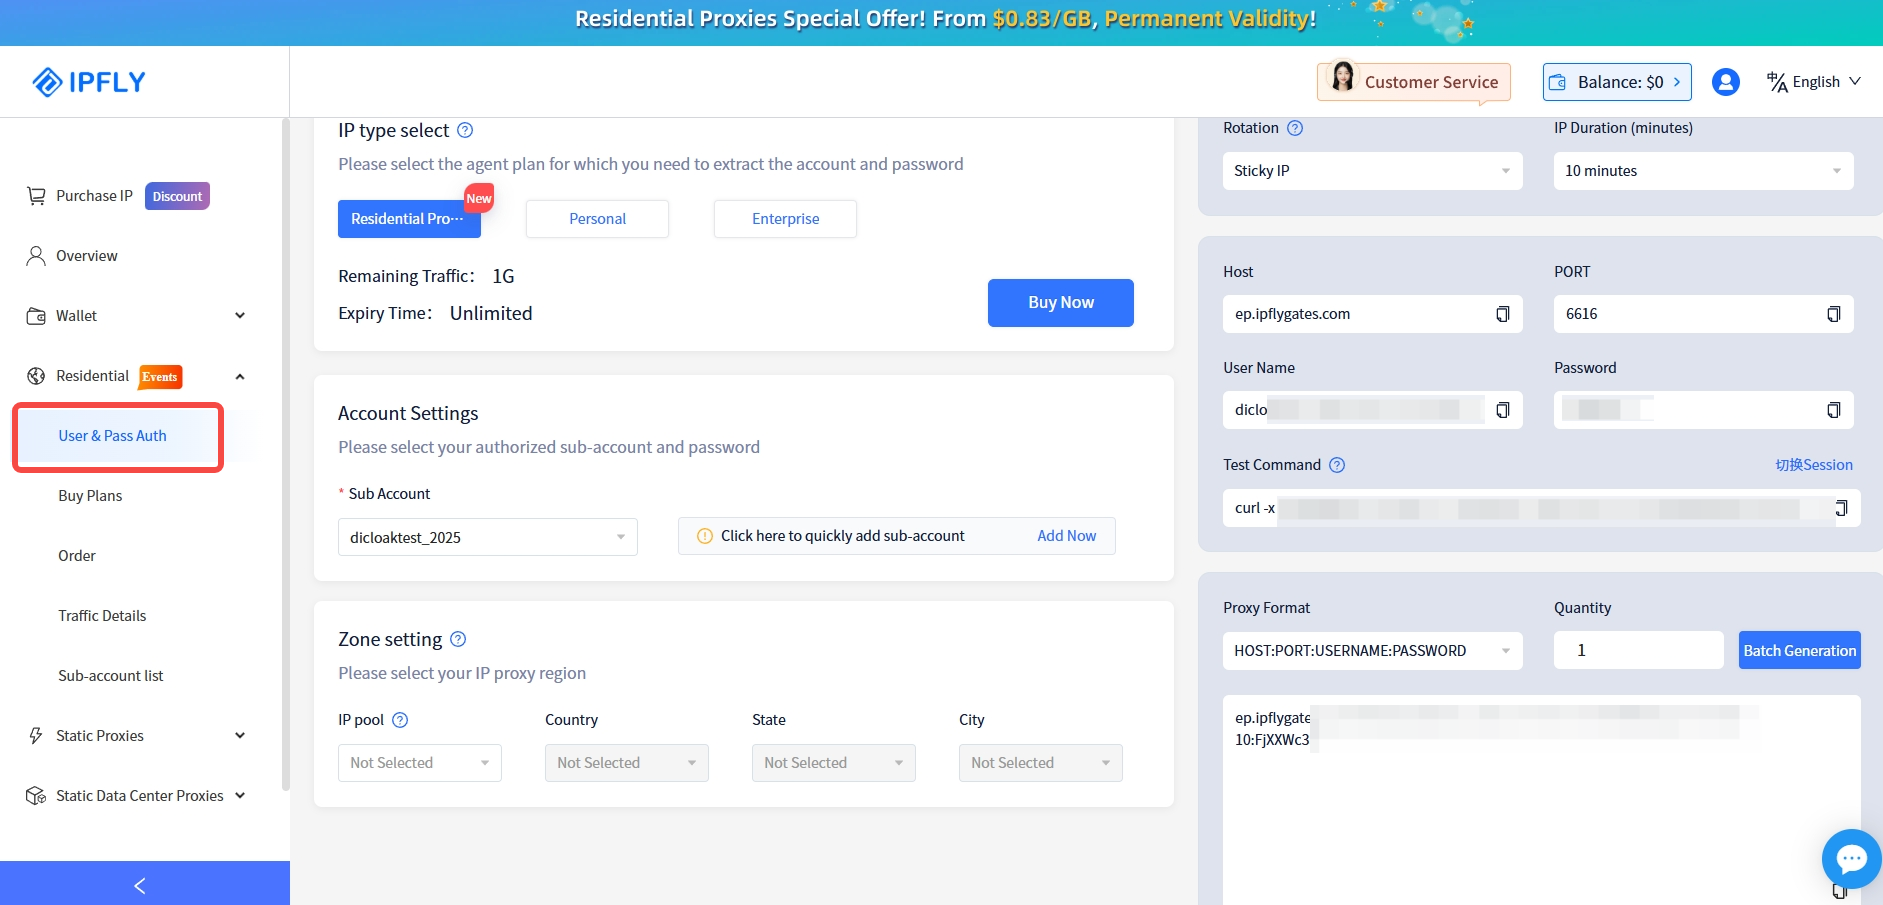
Once the payment is completed, go to 'IP Management' within your account. There, you’ll find the proxy IP package you purchased, ready for use.
In this case, I'm using Rotating Proxies, so I’ll need to use username and password authentication to access the details.
Step 3: Create a new fingerprint browser profile
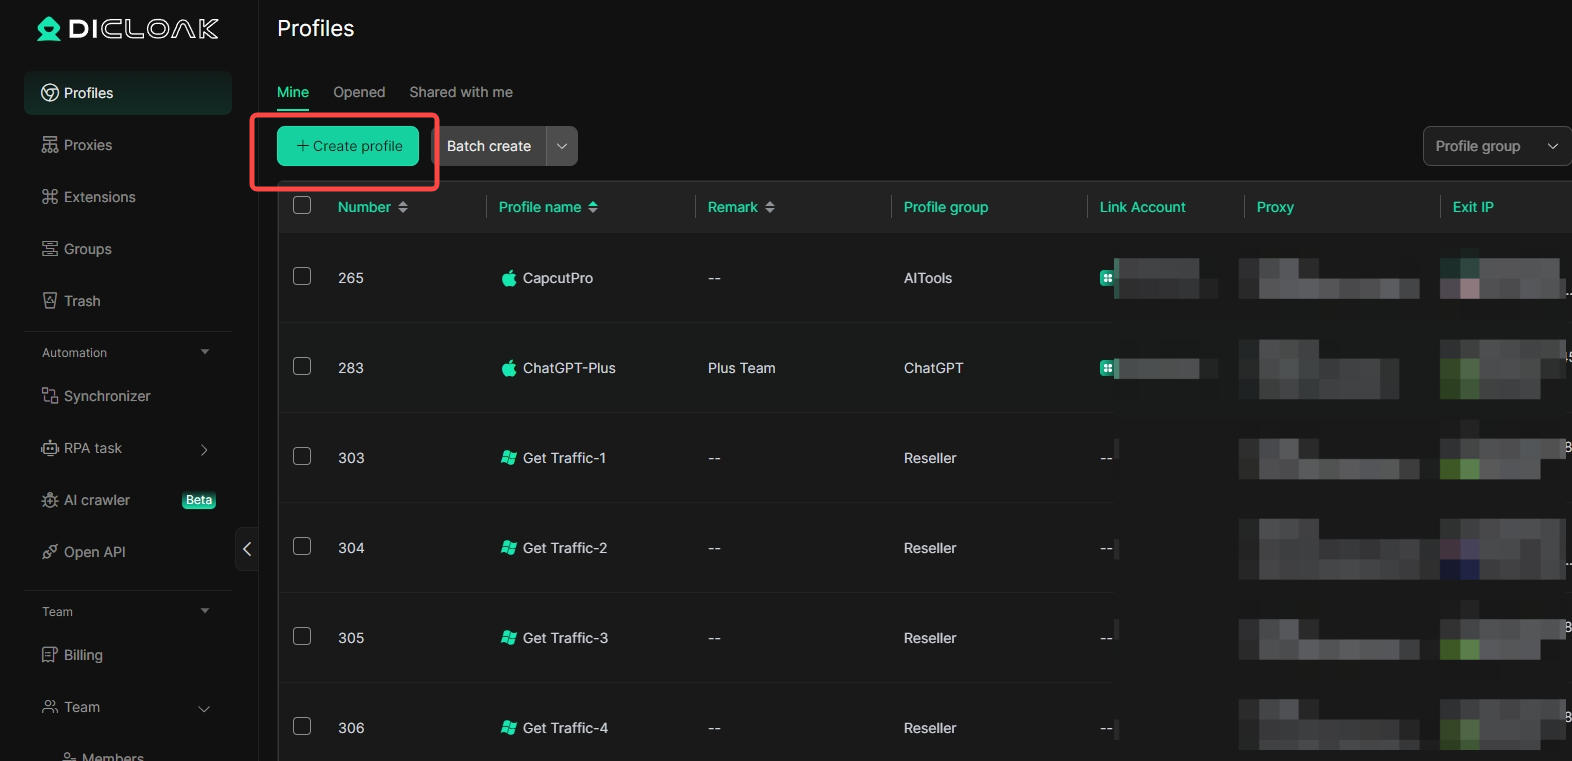
Download and complete the registration of DICloak Antidetect browser. Create a New Profile. Once the app is installed, open it and click 'Create Profile' to create your first browser profile. For new users, a default browser profile will be available. You can also click 'Edit' to modify the profile information.
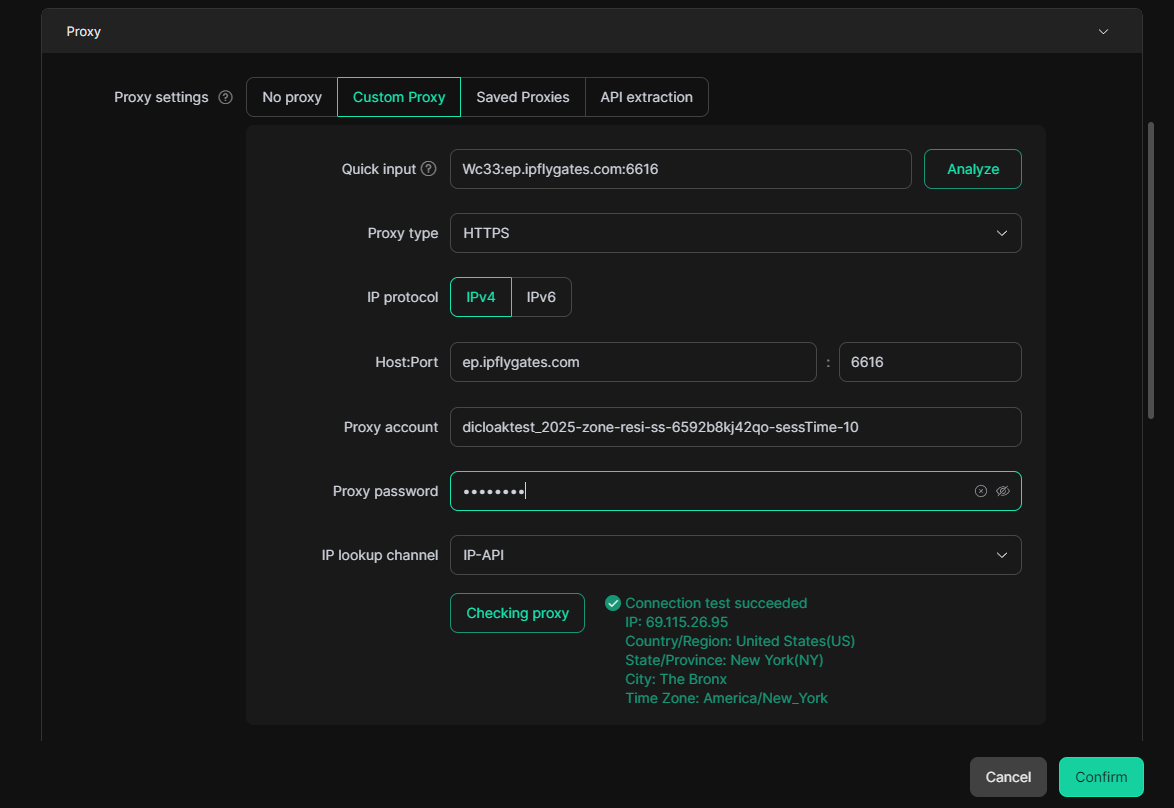
Step 4: Configure Your Proxy Information and Check the Proxy Connection
Make the following settings in 'Proxy Configuration':
「Host」:accel.ipflygates.com (fill in according to actual package)
「Post」:6616(to be filled in according to the actual package)
「Proxy Account」: Proxy Account
「Proxy password」:Proxy password
Check if the proxy is working properly by clicking 'Checking Proxy'. If everything is normal, click 'Confirm'
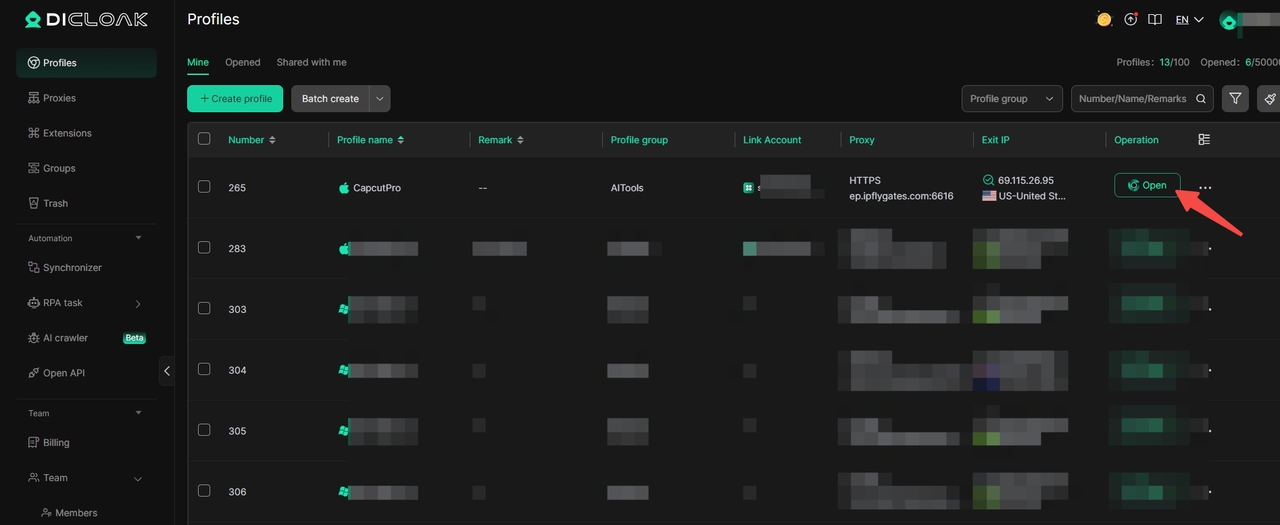
Step 5: Open your Profile
The profile is now ready. You can click 'Open' to start browsing