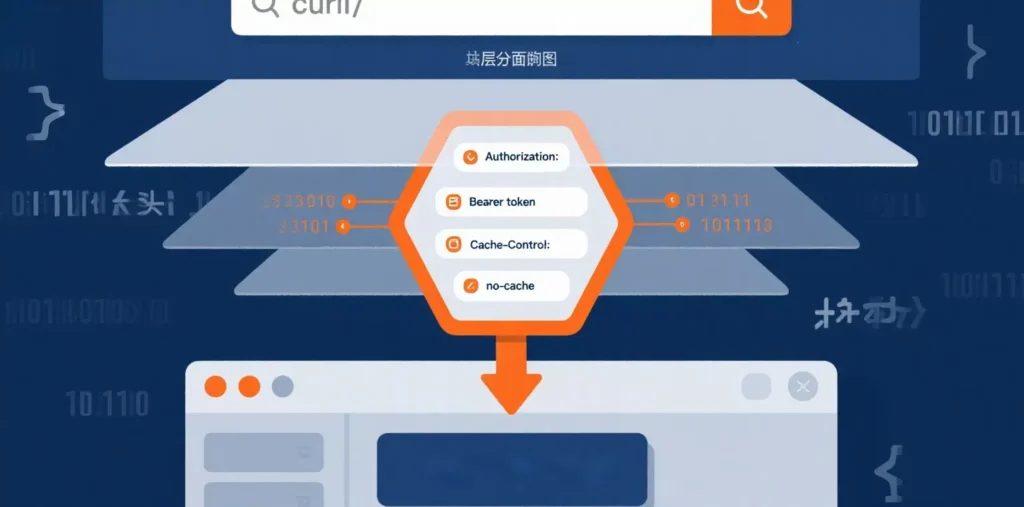
For developers, system administrators, and security testers, cURL is a fundamental tool in the command-line arsenal. It’s the swiss-army knife for making web requests, transferring data, and debugging APIs. While making a simple GET request is straightforward, unlocking the true power of cURL means mastering one of its most critical features: HTTP headers.
Understanding how to manipulate cURL headers allows you to authenticate with APIs, specify content types, mimic different browsers, and much more. This guide will provide a practical, hands-on walkthrough of everything you need to know to view, send, and customize headers with cURL, complete with copy-and-paste examples.

What Are HTTP Headers? A Quick Refresher
Before we dive into the commands, let’s quickly recap what headers are. Every time a client (like your browser or cURL) communicates with a server, it sends a request, and the server sends back a response. HTTP headers are the metadata attached to these messages. They act like instructions or labels on an envelope, providing crucial context, such as:
Who is making the request (User-Agent)?
What kind of content is being sent (Content-Type)?
Is the user authorized to access this resource (Authorization)?
What type of response content is acceptable (Accept)?
Manipulating these headers with cURL gives you precise control over your web requests.

How to View Response Headers with cURL
Often, the first step in debugging is to see the headers a server is sending back to you. cURL offers a few simple flags for this.
--include or -i: This flag includes the HTTP response headers in the output, followed by the body of the response.
curl -i https://api.example.com/statusThis will output the status line (HTTP/1.1 200 OK), all response headers (Content-Type, Date, etc.), and then the actual content of the page.
--head or -I: If you only want to see the headers and not the body, use this flag. It sends a HEAD request, which asks the server for just the metadata.
curl -I https://api.example.com/status--verbose or -v: For maximum detail, the verbose flag shows you everything: the request headers you sent, the response headers, and additional connection details.
curl -v https://api.example.com/statusHow to Send Custom Request Headers with cURL
This is where the real power lies. Using the --header or -H flag, you can define any custom header to send with your request. The syntax is simple: -H "Header-Name: Header-Value".
Here are some of the most common use cases:
Example 1: Setting the Content-Type for a POST Request
When sending JSON data to an API, you must tell the server what kind of data you’re sending.
curl -X POST \
  -H "Content-Type: application/json" \
  -d '{"name":"John Doe","email":"john.doe@example.com"}' \
  https://api.example.com/users
Example 2: Sending an Authorization Token for API Access
Most modern APIs require a Bearer Token or API key for authentication, which is sent in the Authorization header.
curl -H "Authorization: Bearer your_super_secret_api_token" \
  https://api.example.com/v1/my-data
Example 3: Changing the User-Agent to Mimic a Browser
By default, cURL’s user agent is curl/version. Some websites or APIs block this. You can impersonate a standard browser like Chrome to avoid blocks.
curl -H "User-Agent: Mozilla/5.0 (Windows NT 10.0; Win64; x64) AppleWebKit/537.36 (KHTML, like Gecko) Chrome/128.0.0.0 Safari/537.36" \
  https://www.example.com
Example 4: Sending Multiple Headers
You can use the -H flag multiple times to send several headers in a single command.
curl -H "Authorization: Bearer your_token" \
  -H "Accept: application/vnd.api+json" \
  https://api.example.com/v1/posts
Advanced Use Case: Combining cURL Headers with Proxies
For tasks like web scraping, SEO monitoring, or testing geo-specific content, you’ll often need to route your cURL requests through a proxy server using the -x flag. However, modern anti-bot systems don’t just check your IP address; they analyze your headers.
This is especially true when using high-quality residential proxy networks. To get the full benefit of a service like IPFLY, which provides clean IPs to avoid blocks, your cURL headers must be configured to mimic a real user’s browser. Combining a rotating IP from IPFLY with a realistic User-Agent header is a powerful strategy for successful data collection.
curl -x http://your_proxy_server:port \
  -H "User-Agent: Mozilla/5.0 (Macintosh; Intel Mac OS X 10_15_7) ..." \
  https://example.com/data
cURL Headers Cheatsheet
Here’s a quick reference for some of the most common request headers you’ll use:
| Header | Description |
| Authorization | Provides credentials to authenticate the client with the server. |
| Content-Type | Indicates the media type of the resource in the request body (e.g., application/json). |
| Accept | Informs the server about the content types the client can understand. |
| User-Agent | A string that identifies the client software originating the request. |
| Cookie | Sends previously stored cookies from the server back to the server. |
| Cache-Control | Specifies directives for caching mechanisms in both requests and responses. |

Mastering cURL headers transforms the tool from a simple file downloader into a sophisticated instrument for interacting with the web. By understanding how to view response headers with -i and -I, and more importantly, how to craft custom request headers with -H, you gain the fine-grained control needed for modern API development, debugging, and data automation. This fundamental skill is essential for any developer looking to work effectively with web services from the command line.
Hey folks! Wondering how to use proxies without mistakes and grab the latest tricks? Head straight to IPFLY.net for great services, then hop into the IPFLY Telegram community—we chat tips daily, even newbies can catch on fast. Don’t wait, join us!


